How to edit the hosts file on a Mac

John on May 17, 2020
The Hosts file on your Mac is a central point which is always ran through when accessing addresses on the internet. It's essentially a gateway that you can use for a number of reasons whether that is for setting up a development address for a local host or blocking certain applications from going on the internet if you are having problems with adware etc.
how the hosts file works
When an address is requested, before connecting to the internet your mac will go through the hosts file and look on each line for an IP and its corresponding domain name server (DNS). If there is no match to what you have requested your Mac will access the internet and ask your ISP to resolve the request. For example if you had a line in your hosts file like this:
127.0.0.1 mylocalwebsite.app
Any time your browser tried to access that URL it would be handled by your local host. This URL could then be used by a virtual server on your computer potentially.
127.0.0.1 abadsite.com
Another interesting case use of the host file is to block websites that you do not want your computer being able to go onto the internet to access. If I tried to access "abadsite.com" on my computer it would now essentially be "blocked". This is a similar method which ISP's use to block access to sites which are illegal in certain countries accept you have that control directly on your machine also, this is useful if you are an administrator and would not like users on your computer to be able to go on certain sites. It can also be good for addressing issues such as malware which relies on connecting to the internet.
How do I edit the hosts file on my Mac?
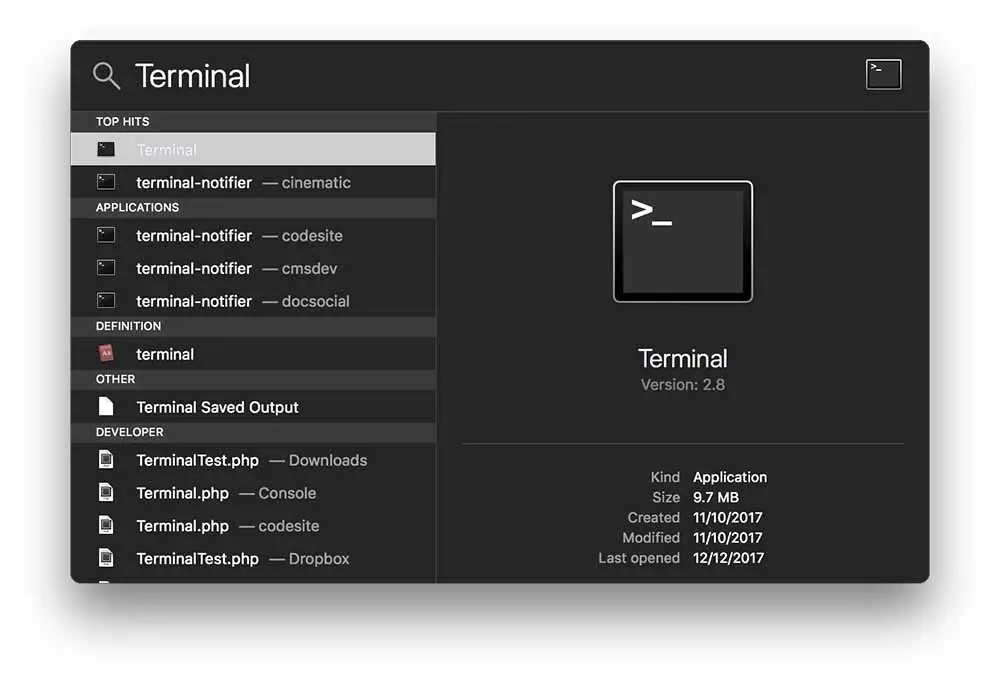
The best way to do this is with the native command line tool terminal. Firstly open terminal by:
- Press and hold
Command + Spacebarto open Spotlight search function - Begin typing "terminal" and click on the first result that comes up:
You will now have a terminal session open. Now type in the following command:
sudo nano /etc/hosts
Lets break down what we are actually doing with this terminal command:
sudo- this says we want to run the following command with super admin privilegesnano- this says we want to open the following with the GNU nano command line text editor./etc/hoststhis is the location of your hosts file- Hit enter the run the command and type in your password when requested
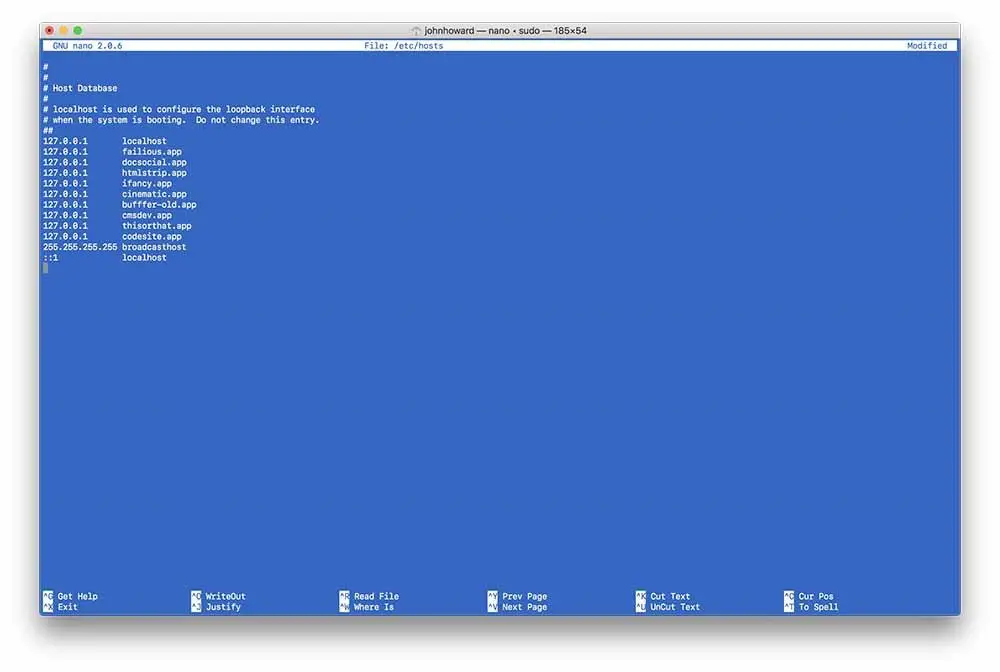
You will now be inside the Nano text-editor as super administrator, which will look something like this.
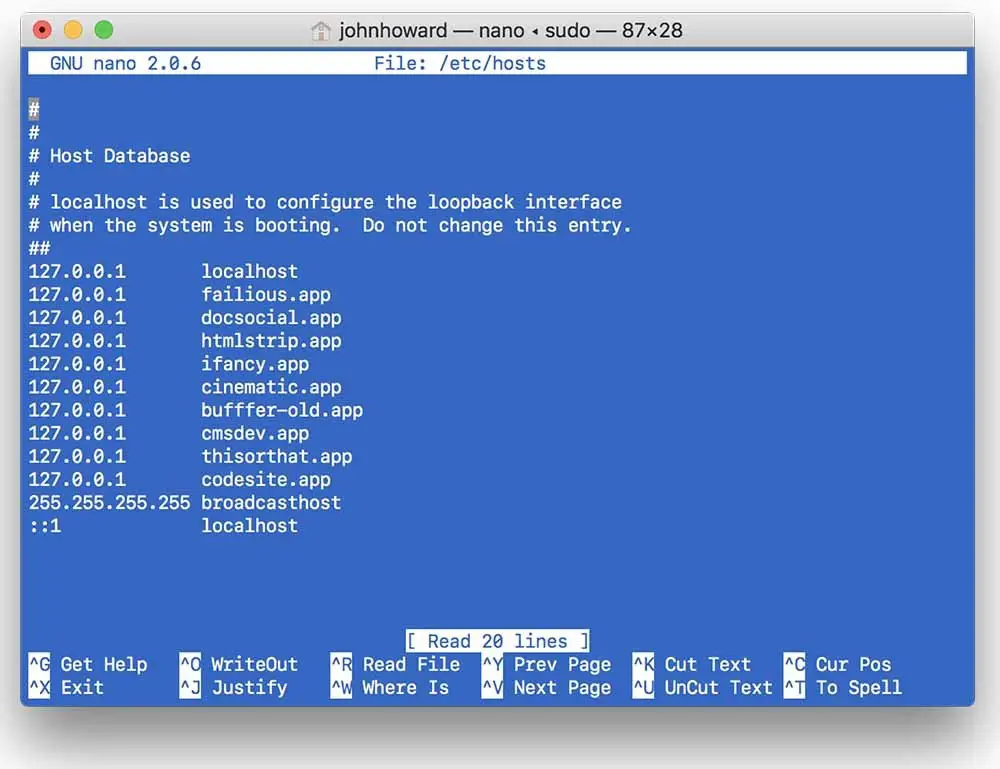
As you can see I have a bunch of development addresses for projects I am working on; most likely your file will only have a local host line. On the Bottom of Nano you will see all of the available options which are accessed by pressing the control key plus the corresponding character. Navigate around your hosts file using the arrow keys.
Once you have made changes save the file by:
- pressing
control + x - press
ykey and hitenter
Flush The Mac DNS Cache
The final optional step is to flush the Mac DNS cache. Caching of the hosts file allows your computer to access previously visited domain name servers quickly but also means that any changes you make will not be visible immediately. To clear this and allow change to be active straight away we can run the following command in terminal:
sudo killall -HUP mDNSResponder
So there you have it, an explanation of how to edit your Macs DNS and what you may want to use it for. If you have anything to say please comment below.